

First thing's first - gather everything you will need before you start. For this project you'll need a cardboard box (I found that a cereal bar box worked perfectly), coloured card, wrapping paper, paper for the inside of the notebook (I used lined paper), a ribbon (approximately 30-40 cm), scissors, ruler, pencil, glue and a stapler.

Cut the box so that you only have the front, back and one side left. Then use the box as a template to draw around on the back of the wrapping paper (which will become your cover). Leave around an inch of wrapping paper around the edges to fold over later.

Glue the wrapping paper and the cardboard box together. This is the tricky part as you don't want to end up with wrinkly paper in your cover. Don;t rush this step and avoid using too much glue.

Now fold over the sides and stick them down to the cardboard using glue.

You will need three pieces of coloured card for the inside - two of the same size for the front and the back and one that's more narrow for the middle. You want them to overlap but to be exactly the same length.

Stick the middle piece of card down first, you want it to be a couple of centimetres over to the front and the back covers. Then stick down the front making sure that doesn't go past the fold.

Now staple the ribbon on the left side of the piece of card which will be glued to the back cover. Once you've done that glue the card the same way as you glued the second piece.

Next you will need to cut the paper down to the right size. The best way to avoid mistakes is to thread one sheet of paper through the ribbon and use a pencil to mark how much you need to cut off. Once you've cut that, use it as a template to cut out however many sheets of paper you think you will need in your notebook. Don't put in more than the thickness of the spine of your notebook - it won't close! To avoid the ribbon splitting I used a lighter to melt the edges slightly, but be careful not to burn your house down!

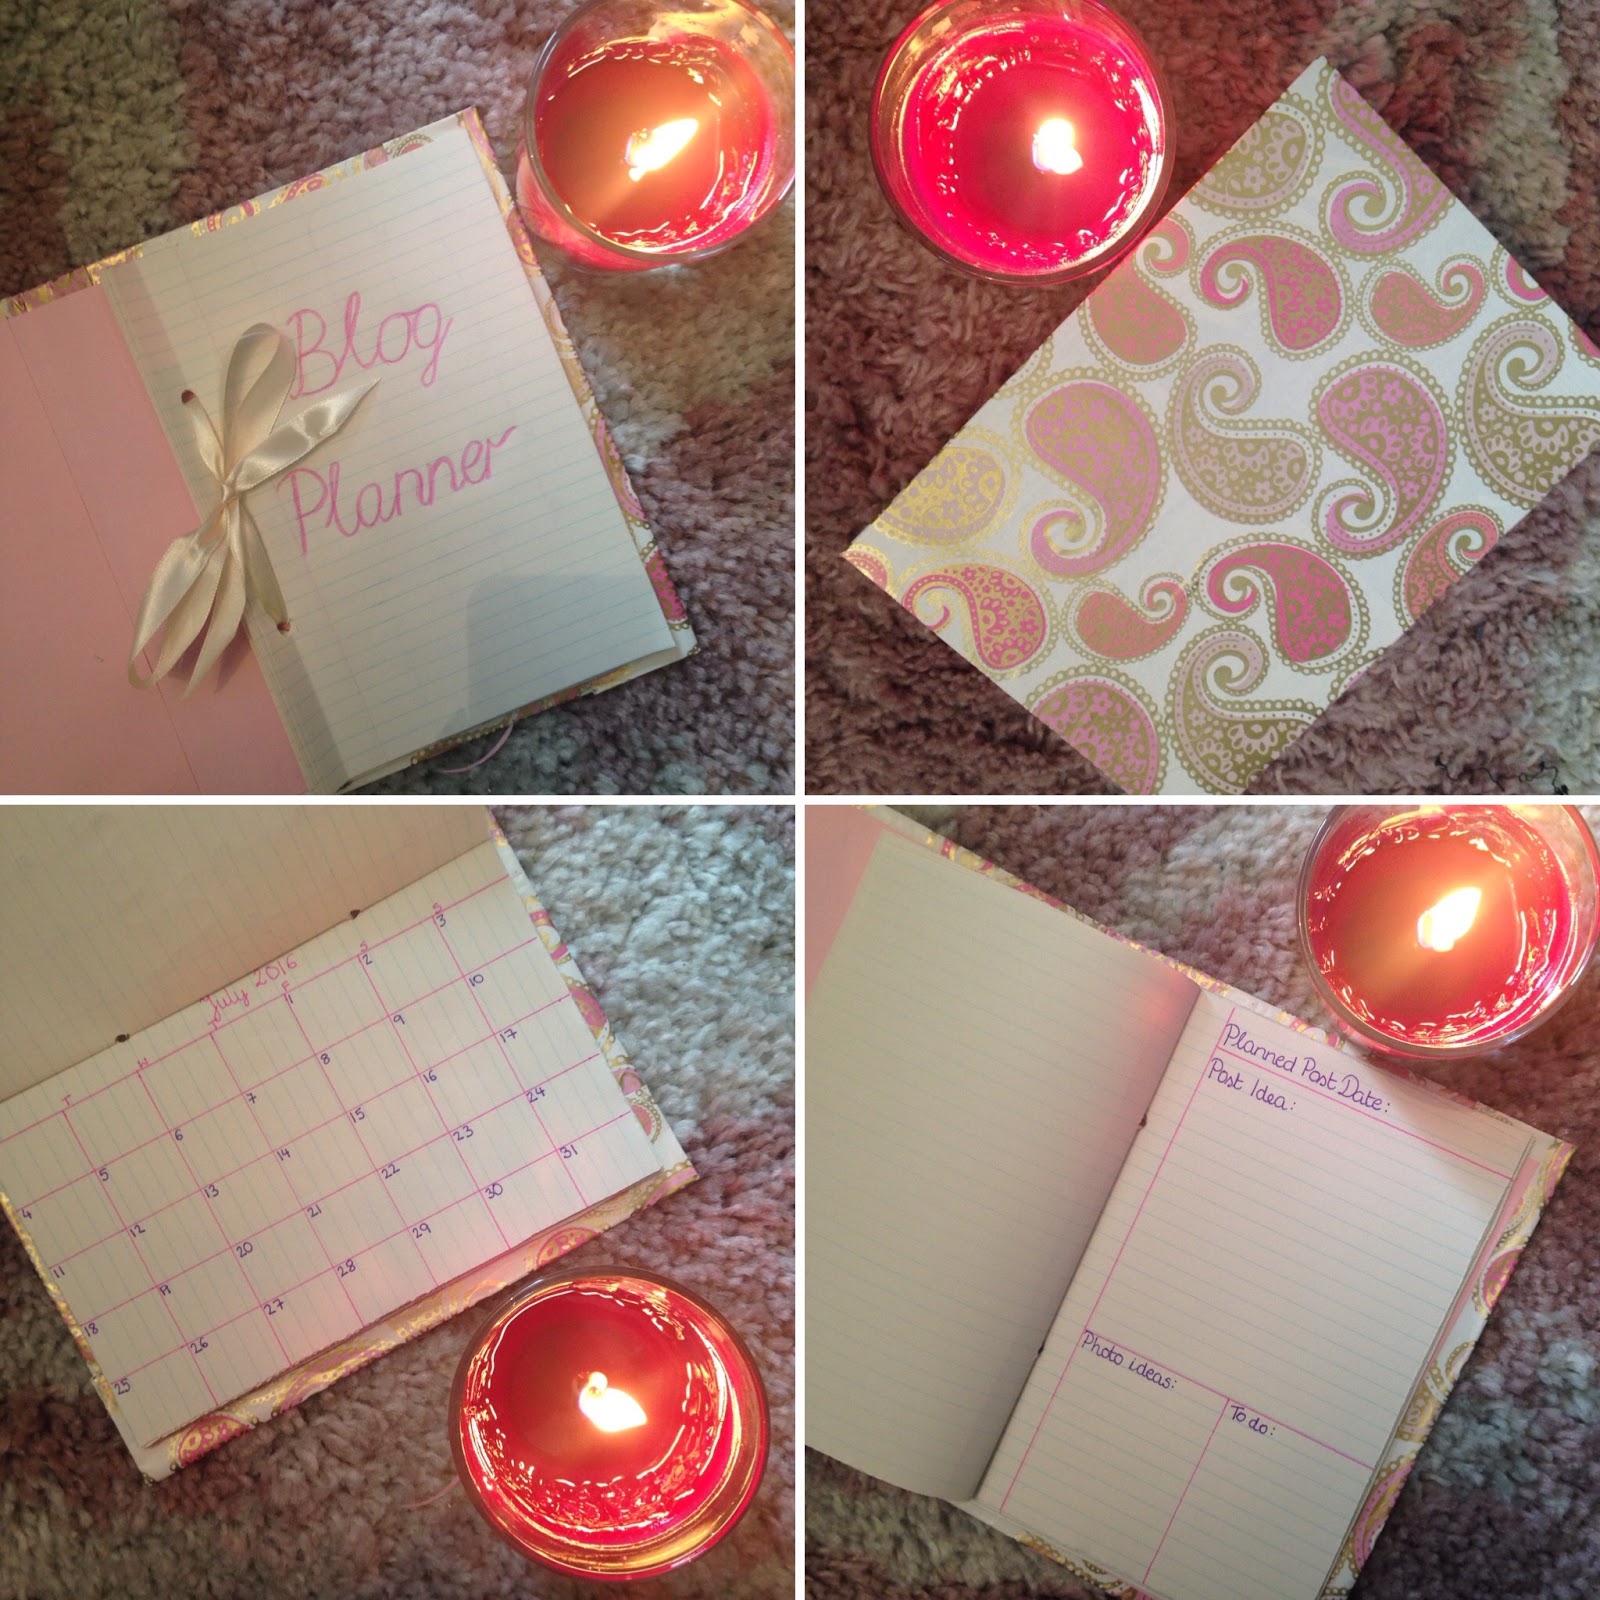
Tie the ribbon in a bow and voila! DIY personalised notebook that costs a fraction of a shop-bought one! You can use this idea for all sorts of different things - just a plain notebook, a planner for an occasion, a diary, journal, organiser... You could even make a cover for the Filofax fillers you can buy in shops.
This is how I organised my blog planner - a monthly diary in the front and pages for blog post ideas in the back along with photo ideas and to do lists.
No comments:
Post a Comment